Welcome to the NPIC
New Player Information Center
The reason you’re here is probably because you joined an alliance.
Good for you!
You can ask anything in the alliance chat. Some basics are better explained immediately to prevent you and/or your alliance from harm.
Why?
Attack & Plunder
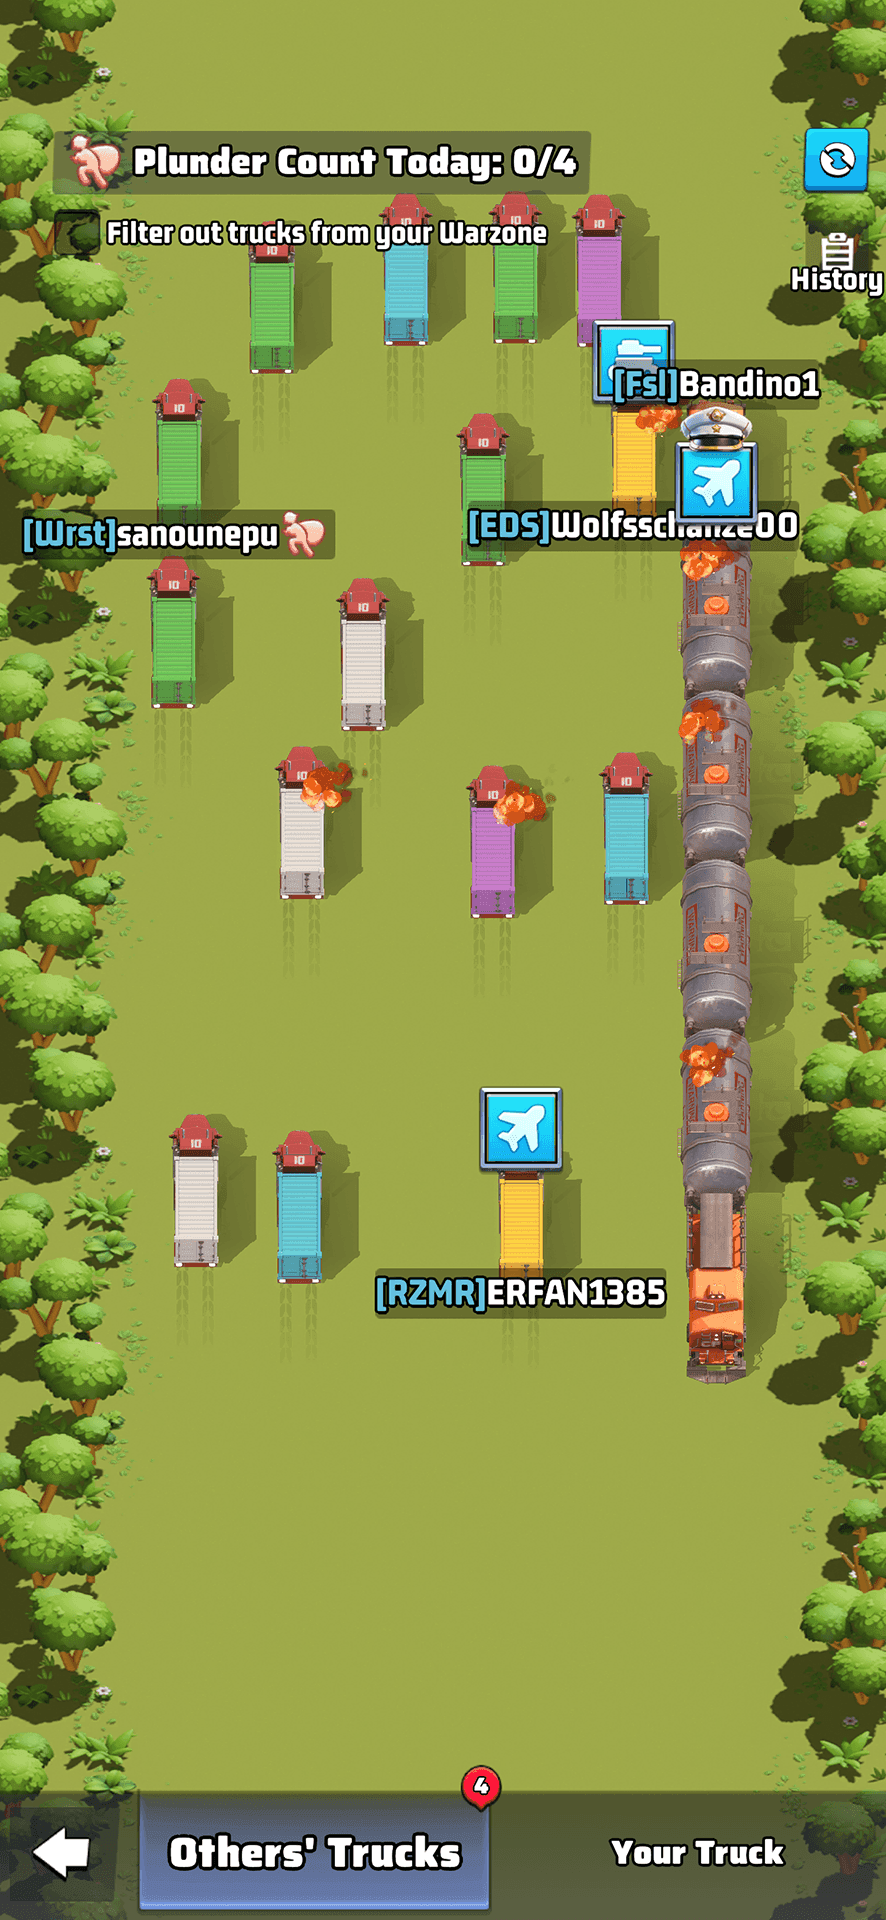
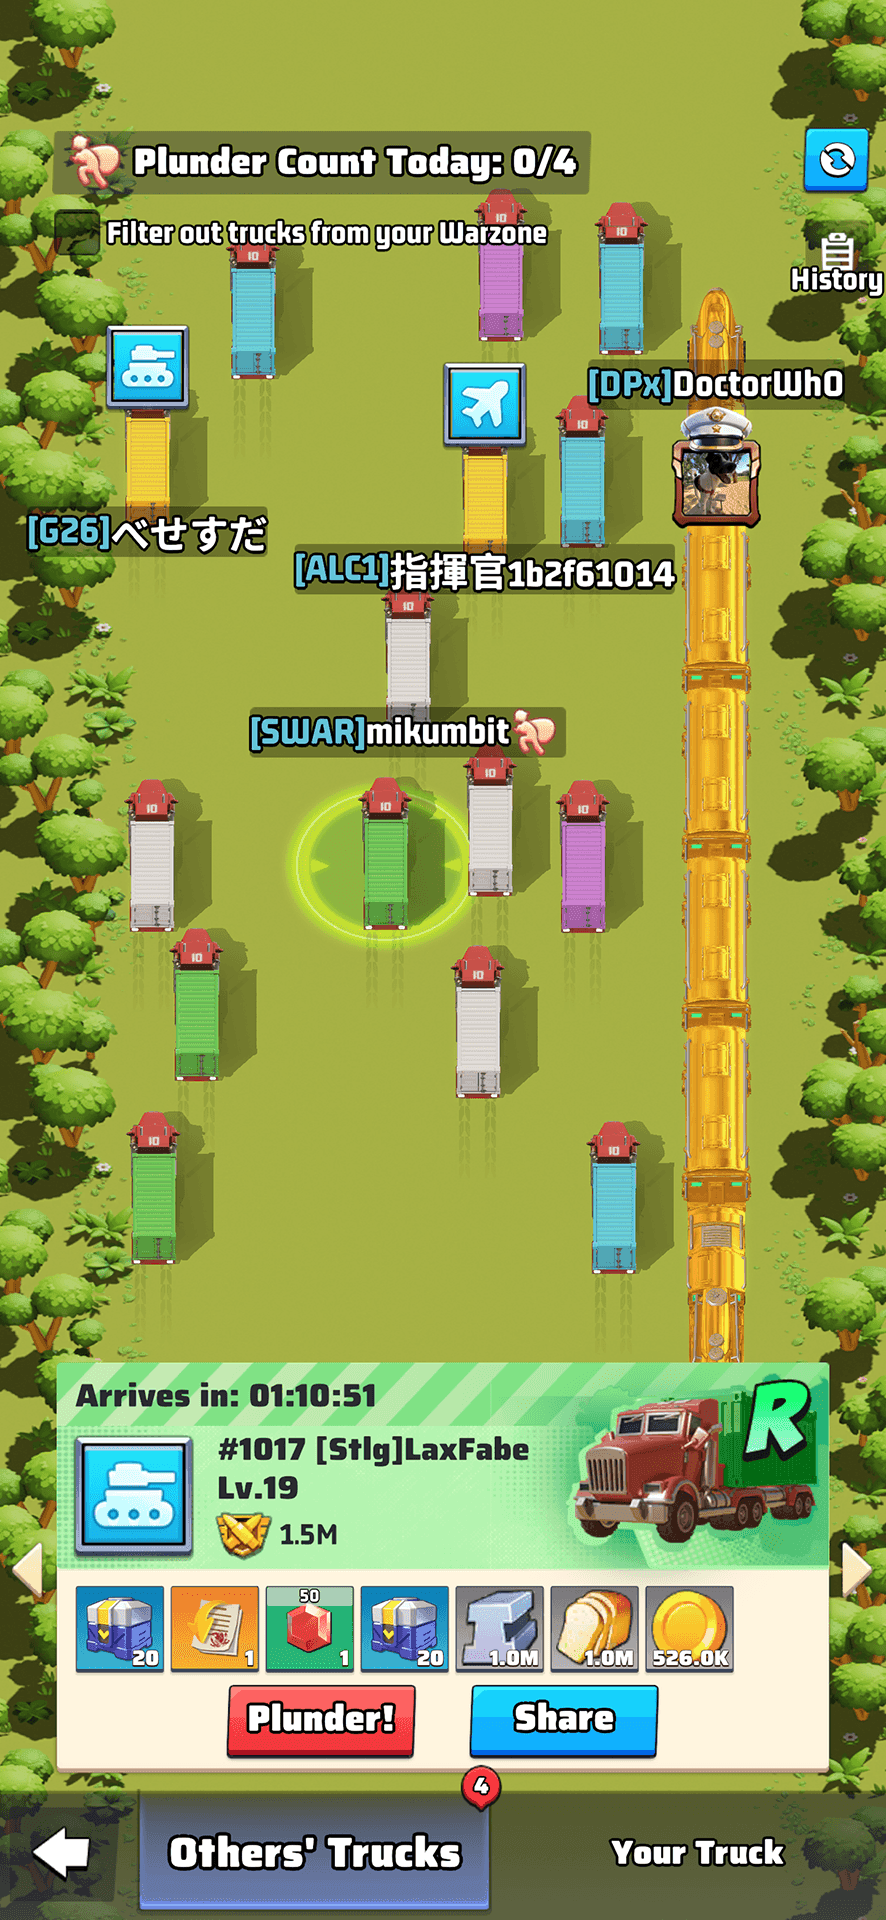
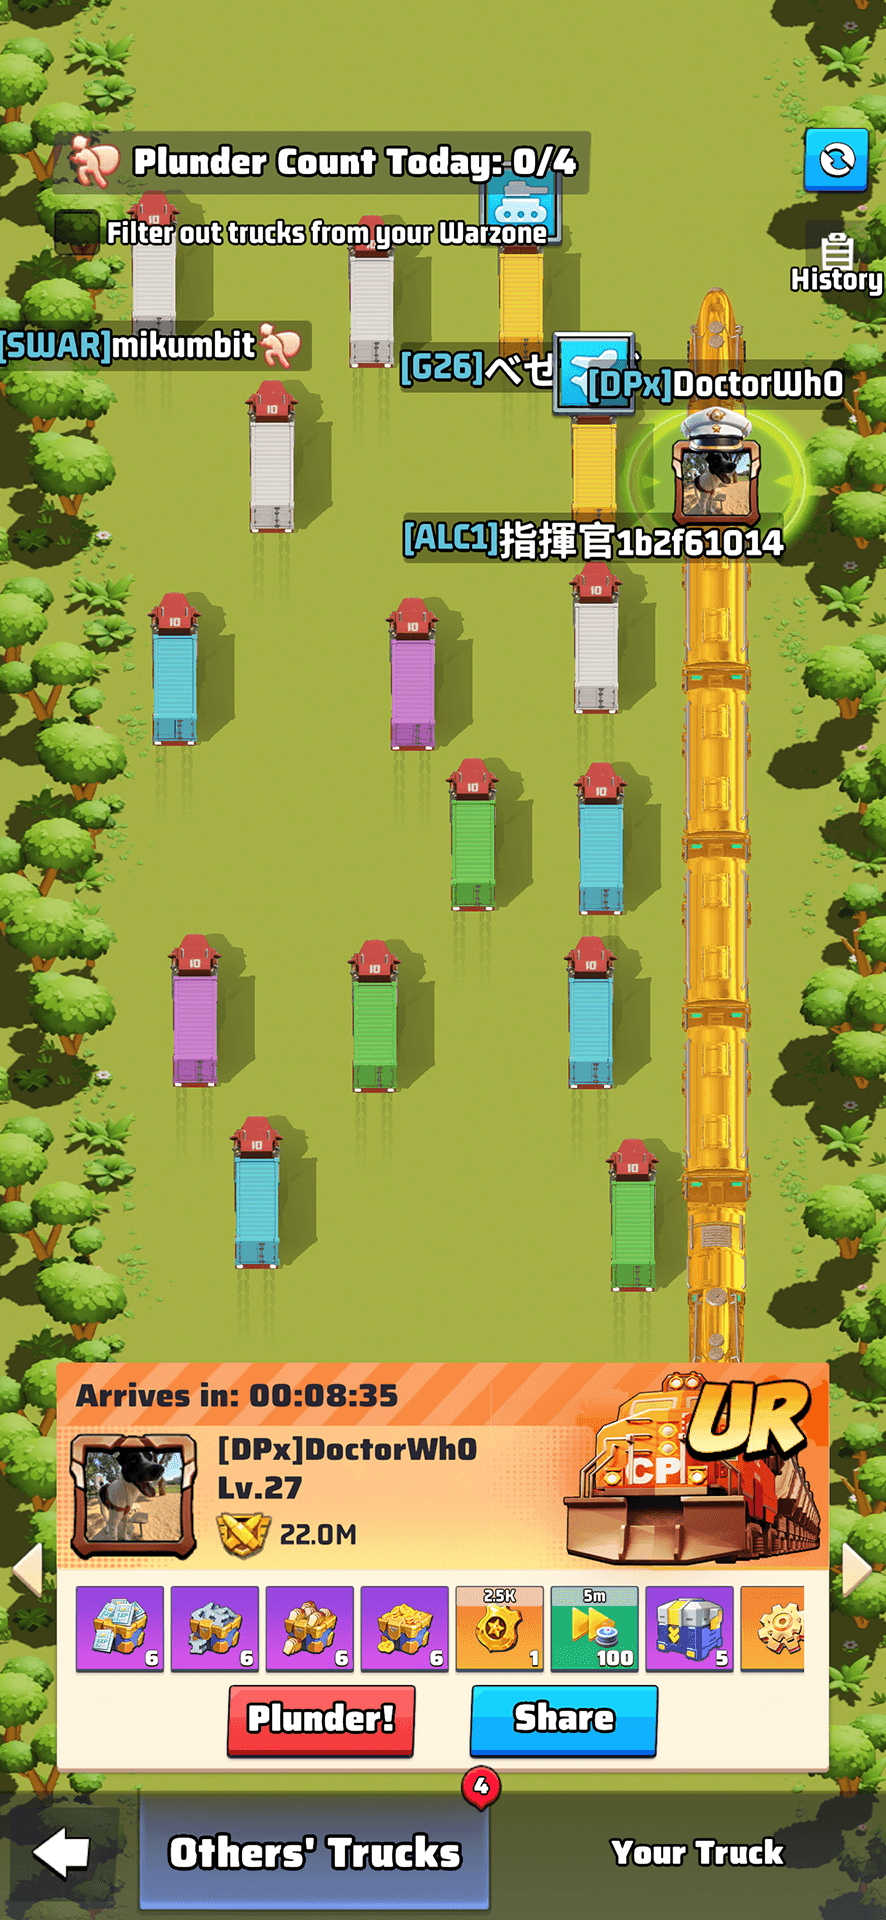
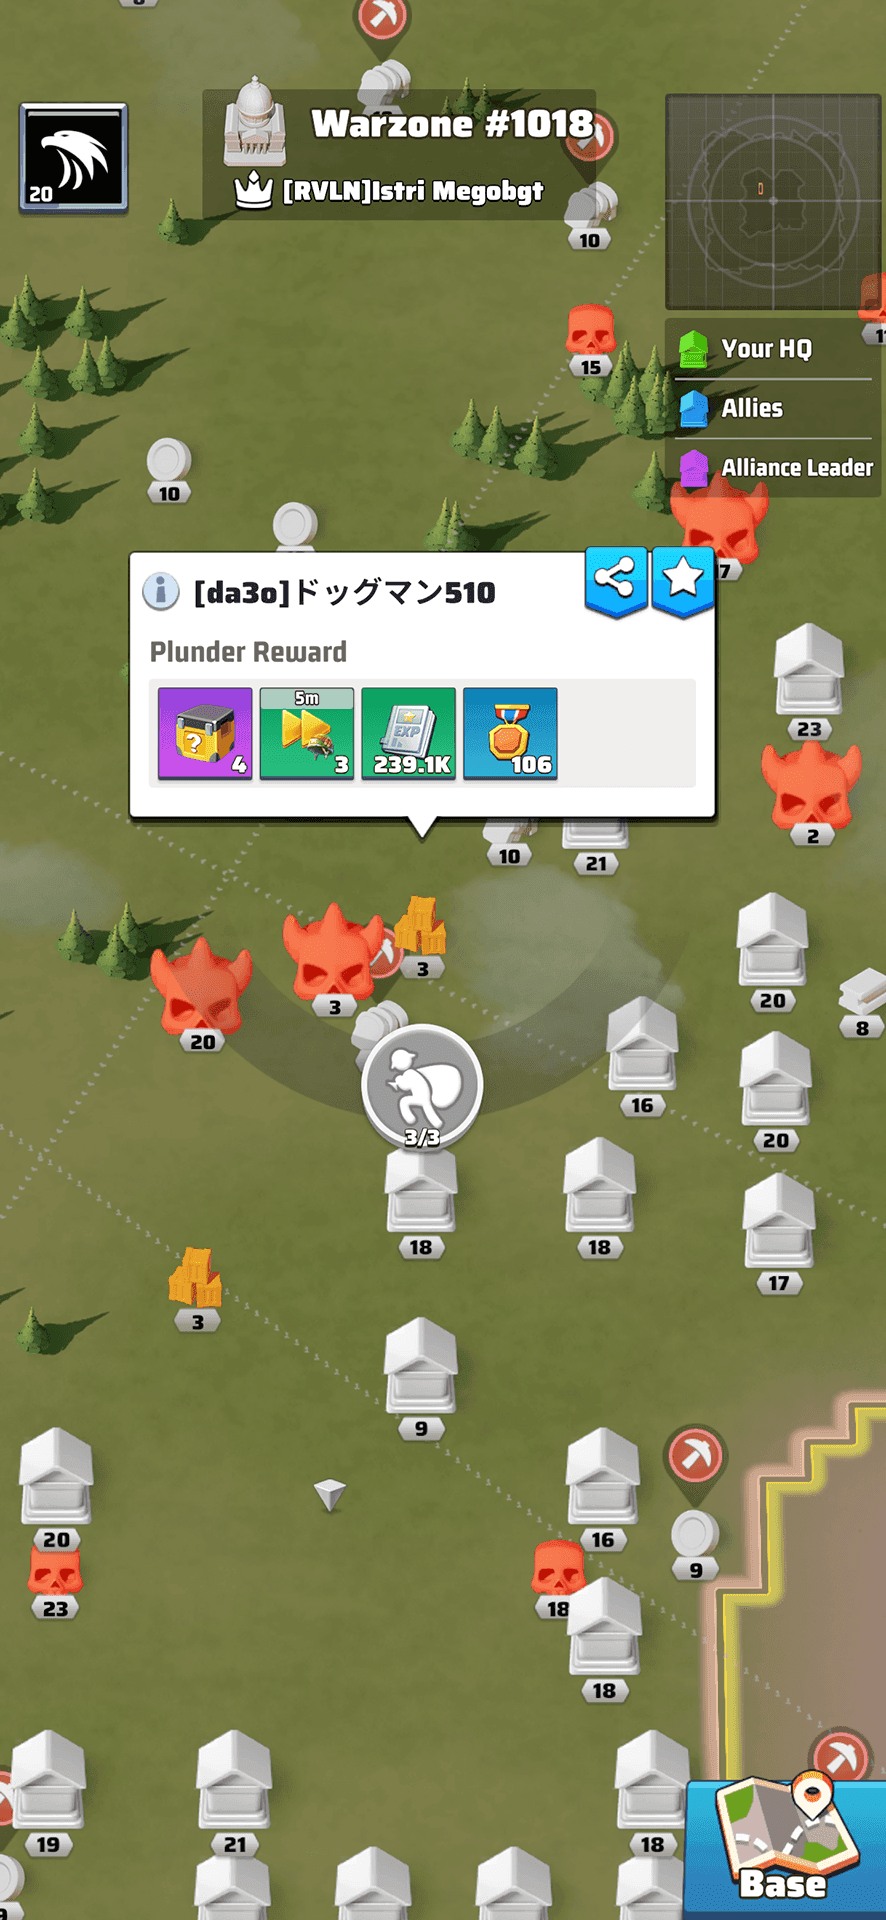
First and foremost do not, I repeat DO NOT plunder trucks and special tasks on your own server. Don’t attack anyone on your server without permission of a R4 or R5 in your alliance. All of this might result in an attack on you and/or your whole alliance.
Plunder trucks on other servers
The first steps of plundering trucks, attacking and plundering tasks on other severs are the same. But it is absolutely not the same thing!
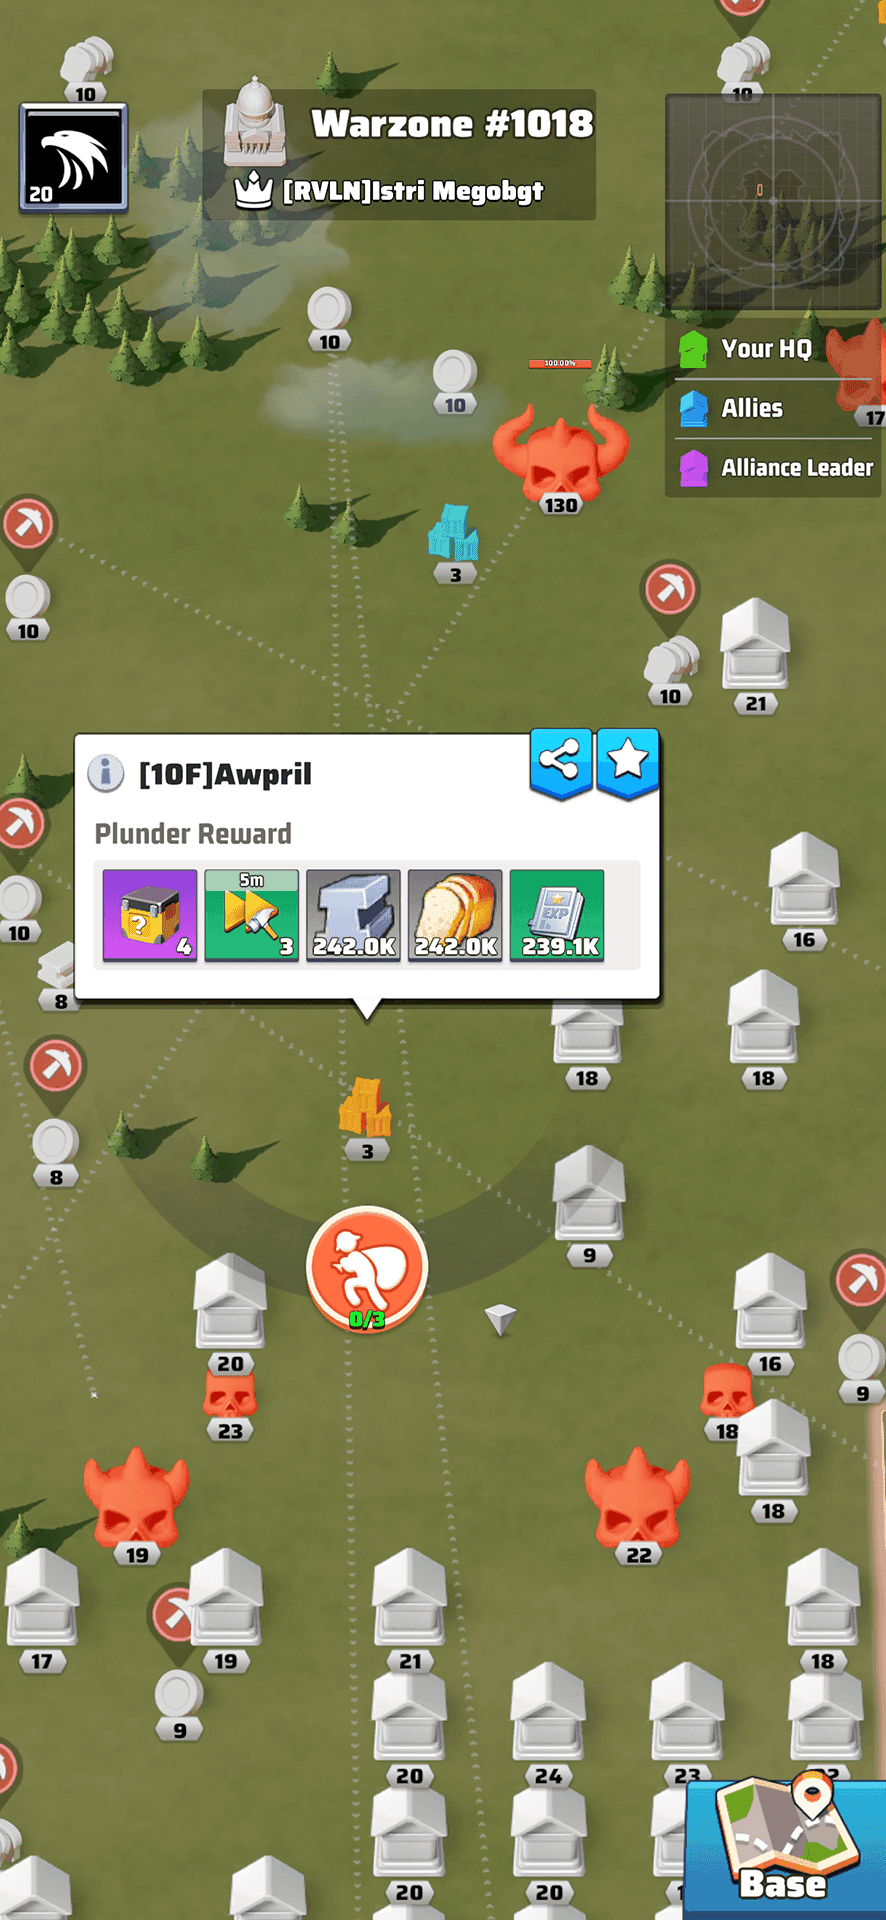
Plunder secret tasks on other servers
The first steps of plundering trucks, attacking and plundering tasks on other severs are the same. But it is absolutely not the same thing!
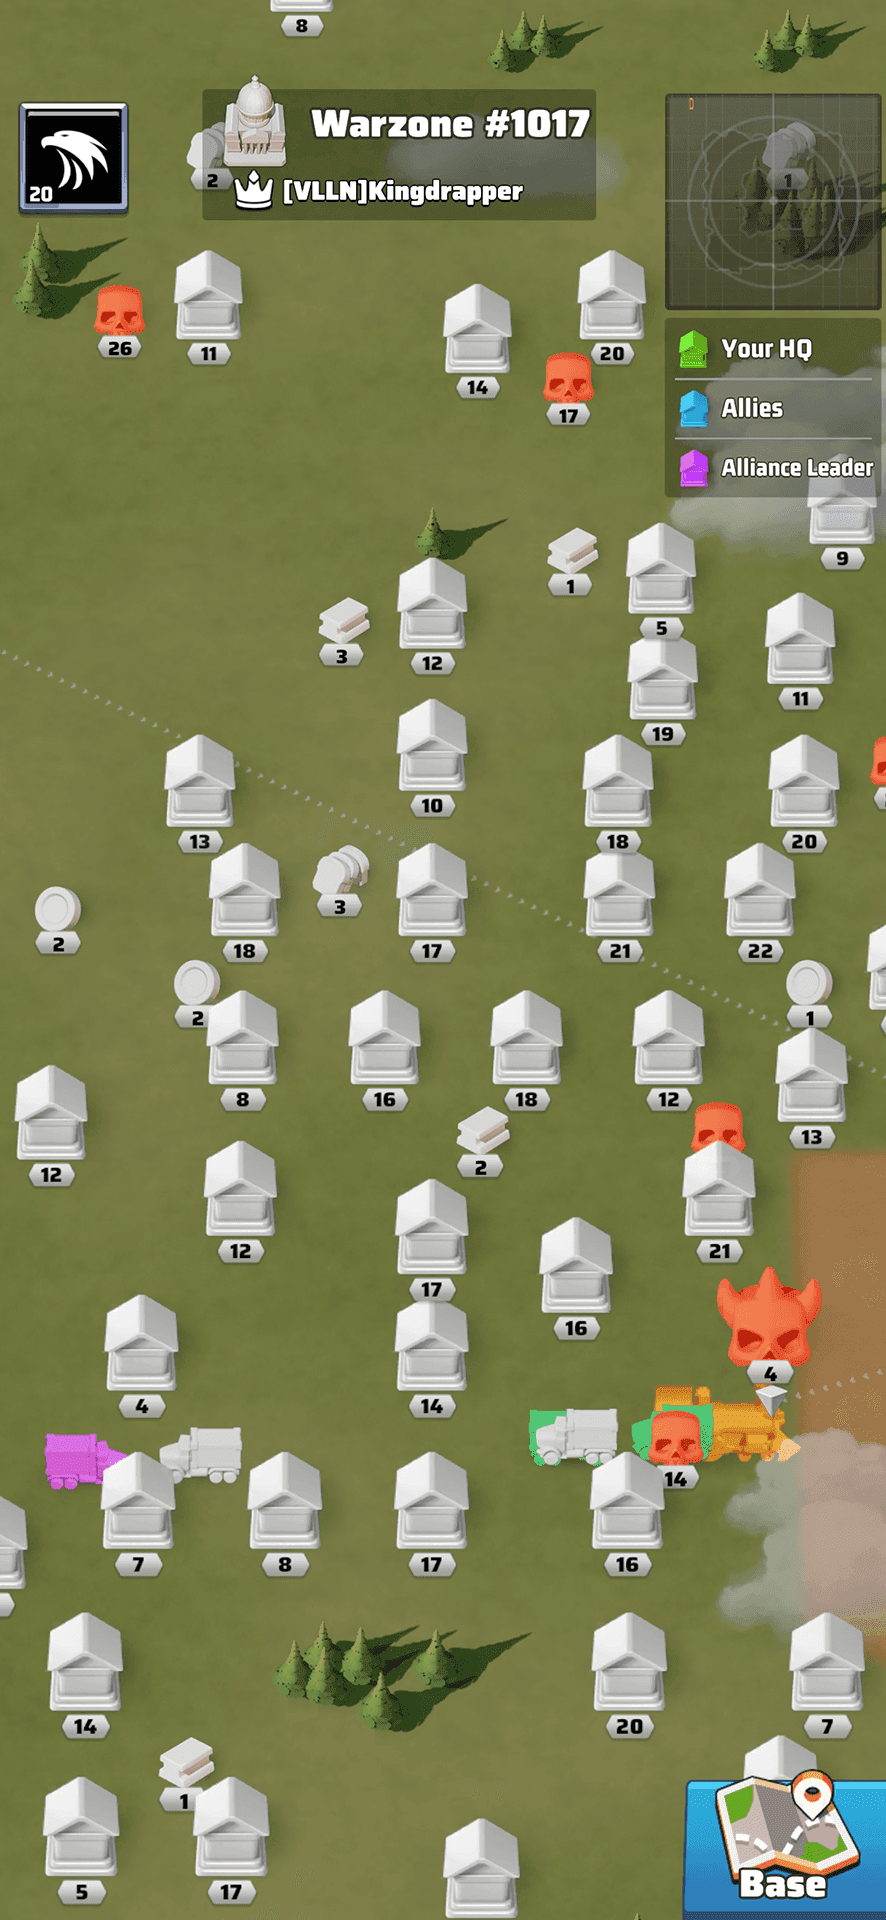
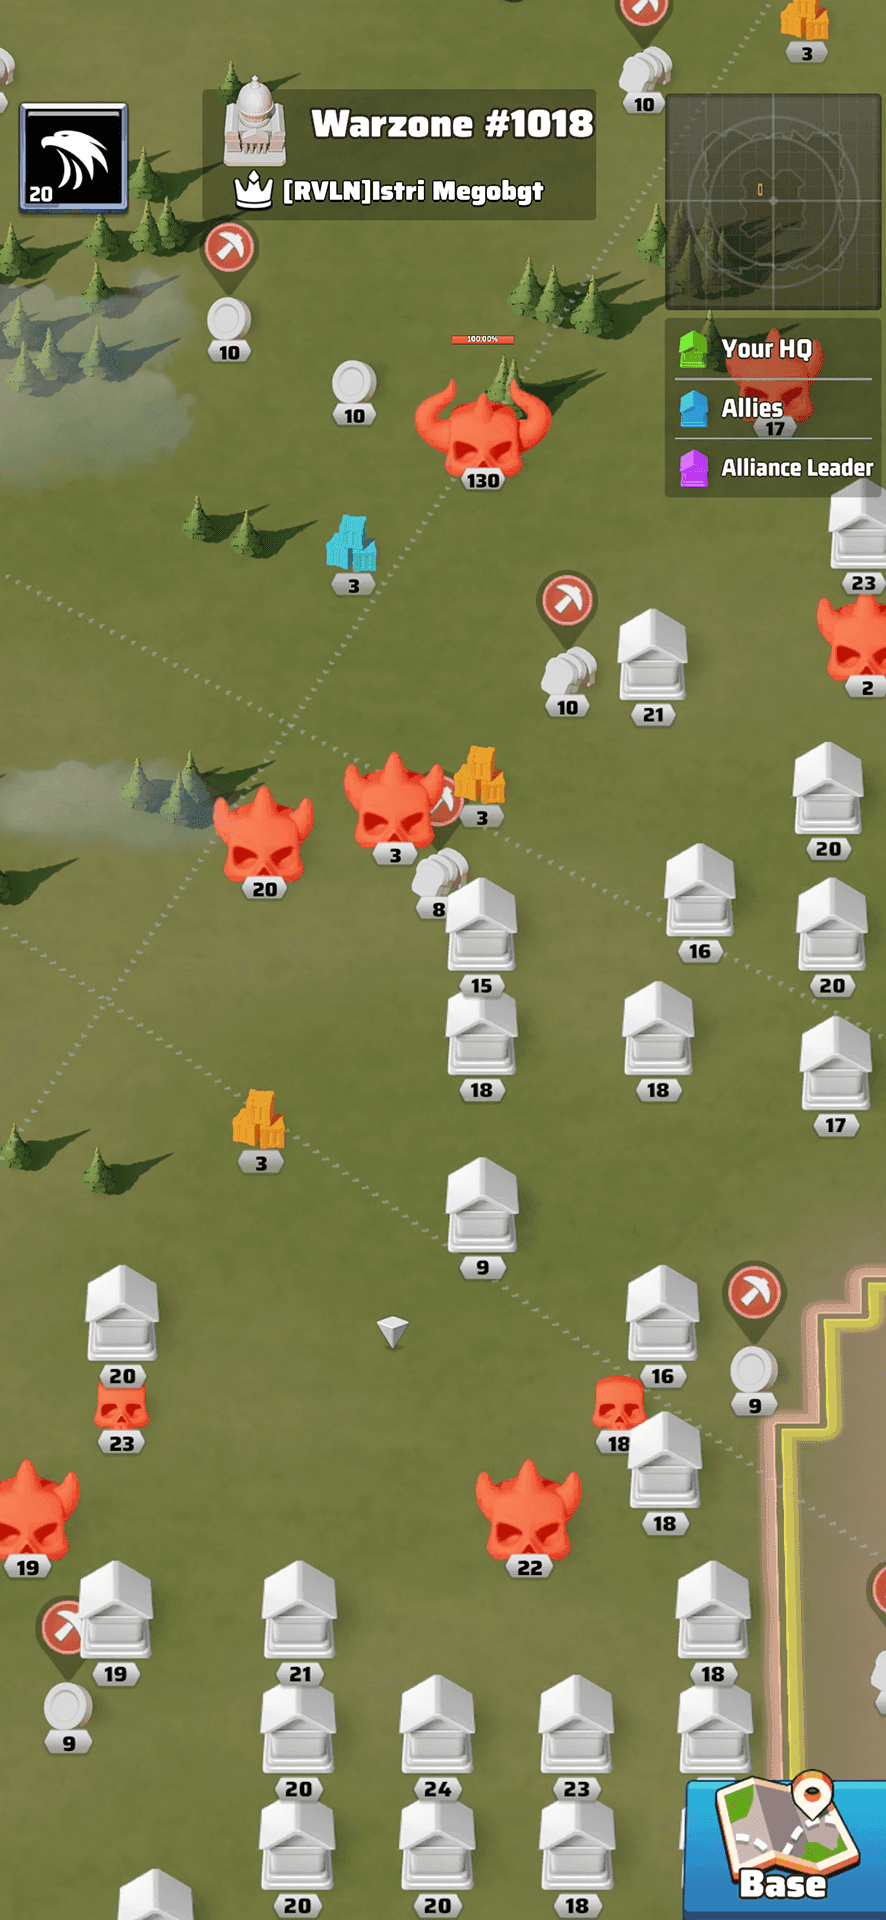
Attacking on a different server
The first steps of plundering trucks, attacking and plundering tasks on other severs are the same. But it is absolutely not the same thing!
VS Battles
VS Battles happen every week and take 6 days. So basically 6 days a week you can earn extra points.Preparing for them makes your life a lot easier. It is best NOT to use these items until the day has come that it gives extra bonuses.
Click on the + icons for explanation per item.
Day 1 – Radar Training
Day 2 – Base Expansion
- Use 1-min Construction Speed-up
- Increase Building Power by 1pt
- Dispatch UR Trade Truck 1 time
- Perform 1 Legendary Secret Task
- Recruit Survivor 1 time
Day 3 – Age of Sience
- Use 1-min Research Speed-up
- Increase Tech Power by 1pt
- Use 1 Valor Badge
- Complete 1 Radar task
- Open Drone Component Chest
Day 4 – Train Heroes
- lite Recruit 1 time
- Use at least 660 Hero EXP Points at a time
- Use Hero Shard
- Use Skill Medal
Day 5 – Total Mobilization
- Complete 1 Radar task
- Use 1-min Construction Speed-up
- Increase Building Power by 1pt
- Use 1-min Research Speed-up
- Increase Tech Power by 1pt
- Use 1-min Training Speed-up
- Train 1 unit
Day 6 – Enemy Buster
- Dispatch UR Trade Truck 1 time
- Perform 1 Legendary Secret Task
- Use 1-min Construction Speed-up
- Use 1-min Training speed-up
- Use 1-min Healing Speed-up
- Enemy Unit Killed from rival Alliance
- Enemy Unit Killed
Leveling up
What buildings to upgrade first? At which level do you stop upgrading? What to research? All this can be overwhelming. Also this is the most controversial topic, since it depends on free to play, buying things and opinions.
Most important buildings
What are the best buildings to upgrade and at what level to stop is a matter of opinion. Below is a recommendation a lot of advanced players will give you.
- Tech center (Max at 30)
- Barracks (keep two at the highest level, the other two just low enough to train your second-highest level troops) (Max at 30/30/29/29)
- Tank center (Max at 28, unless your main squad is tanks, in which case max at 30)
- Training ground (max at 29), hospital (max at 27), wall (max at 26), alliance center (max at 23)
You have to keep up with all of these until they hit the max levels I included. If you get too far behind, your HQ will take a while to upgrade (for example if you need wall lvl 26 but it’s still at 22.
Other
These are tips and tricks that will help you level up quicker.
The Capitol – Jobs
There are 7 main jobs and a few that can be temporarily available depending on server wars.
Except for the Vice President also called VP (formerly know as the First Lady (FL)) all jobs require no knowledge and you don’t have to worry about anything when applying. When you apply the VP will allow you to go in the queue, once in, you can see when you will be in office. You get the job for 5 min and if there are people in the queue, you’ll be automatically replaced right after that. I normally set an alarm to not forget.
President
This is reserved for the alliance that owns the capital (center region on the map).
- Boost Hero HP + 5%
- Boost Hero Attack + 5%
- Boost Hero Defense + 5%
Vice President (VP)
This is assigned by the president at the start and after this, the VP can choose their own successor. I recommend reading the topic on this before ever applying.
- Appoint Officials
- Construction Speed-up + 20%
- Research Speed + 20%
- Training Speed + 10%
Secretary of Strategy
5min time slot that gives the following perks only for newly started jobs (so not on units already being healed in the hospital).
- Hospital’s Capacity + 20%
- Unit Healing Rate + 20%
Secretary of Security
5min time slot that gives the following perks only for newly started jobs (so not on units already being trained in the barracks).
- Unit Training Capacity + 20%
- Training Speed + 20%
Secretary of Development
5min time slot that gives the following perks only for newly started jobs (so not on research and building upgrades already started).
- Construction Speed-up + 50%
- Research Speed + 25%
Secretary of Science
5min time slot that gives the following perks only for newly started jobs (so not on research and building upgrades already started).
- Research Speed + 50%
- Construction Speed-up + 25%
Secretary of Science
5min time slot that gives the following perks.
- Boost Iron Output + 100%
- Boost Food Output + 100%
- Boost Coin Production + 100%
Military Commander
This job is available after your server beats another server.
5min time slot that gives the following perks only for newly started jobs (so not on research and building upgrades already started).
- Marching Speed + 5%
- Damage Boost + 5%
Administrative Commander
This job is available after your server beats another server.
5min time slot that gives the following perks only for newly started jobs (so not on research and building upgrades already started).
- Construction Speed-up + 60%
- Research Speed + 60%
The Capitol – Speed Increase
When you’re assigned a hat that boosts your construction speed by 50%, you would expect the time to be halved, but that is not how it works.
Let’s do an analogy to explain it better:
- It takes 100 blocks to build a HQ.
- Your initial speed is 1 block per minute.
- So with no hat it would be 100 minutes to build.
- With a 50% speed increased hat you speeds goes up to 1.5 blocks per minute.
So the new construction time is:
time = blocksToBuildHQ / speed = 100 block / 1.5 blocks/minute = 66.7 minutes. - The hat increases your build speed 50% which reduces the construct time by 33%.
So you will not see your time be reduced by the same amount the speed % is increased, keep that in mind when you are planning to use speed ups.
Additionally, the more buffs you already own (through skins, decorations, villages, etc.), the less effective a hat is compared to the initial time.
So continuing with the analogy above:
- you already have 100% construction speed buff so your speed is 2 blocks per minute
- you get the developer hat that increases your speed by 50% (calculated on the initial 1 block per minute speed) to 2.5 block per minute
- so instead of having 33% effectiveness (time reduction), it would be from 100/2 to 100/2.5, which is an effectiveness of only 20% (time reduction)
Credits to Last War Tutorial
The Capitol – Vice President (VP/FL/First Lady)
The Vice President also called VP (formerly know as the First Lady (FL) in previous versions of the game) requires a bit of understanding on what to do.
The first VP is selected by the President, after this the VP can select the next VP.
VP used to be quite complicated and needed a lot of manual labor to keep lists etc., nowadays the game supports waiting lists.
What is the job of a VP:
- You’ll need to be online a lot while in office
- People apply for a job and go on the list
- The VP accepts a player and this player goes on the auto appoint list
Alternatively the VP can manually appoint someone to skip the queue
If you’re not online, a long waiting time will hurt the entire server. This becomes especially important when the server gets to the level where you start competing with other servers.
Rotating survivors
Any building where you start to produce something with benefit of survivors can use this strategy.
The many buildings are Tech Center (if you have multiple) and Barracks.
- Put your best survivors in the first building.
- Start task (research, recruiting etc.)
- Move the same survivors to the next building
- Repeat step 2
You don’t have to leave the survivors in the first building.
Contact
Please give translation feedback through the feedback module (you should see an icon).
Last time this page has been updated: Thursday, 5 December, 2024, 16:03 - CET
